Access the Style Control settings from: Admin → Extensions → Template Manager → (J15) rt_visage_j15 or (J17) rt_visage → Settings
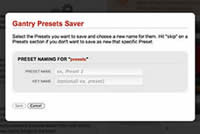
Simple configure the options, then save and Gantry will automatically load the modified preset to your site.
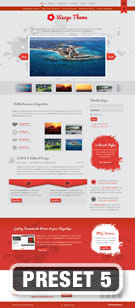
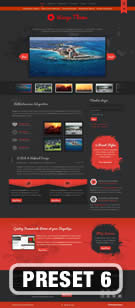
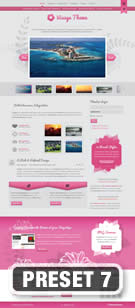
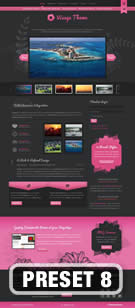
Style Settings
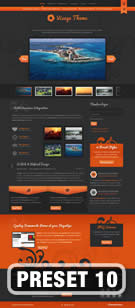
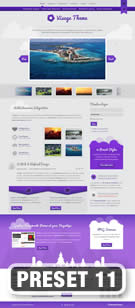
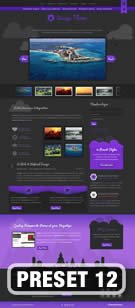
- Body Style: Light - Dark; Determine the body shade/style
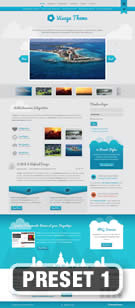
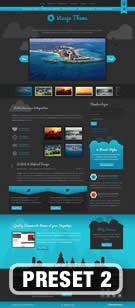
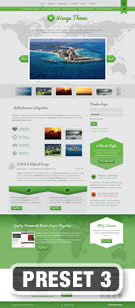
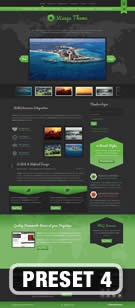
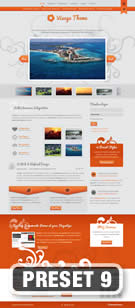
- CSS Style: Blue, Red, Green, Pink, Orange and Purple; Set which style set you wish to load
- Art Style: Clouds, Floral, Abstract, Map, Paint or None; Control the art style
- Read More Style: Button and Link; Set the read more link styling for the template
- Load Transition: On - Off; Enable or disable the page loading transition animation effects
- Web Fonts: On - Off, Google Font Directory; WebFonts allow you to use 3rd party WebFonts from providers such as Google. You must SAVE then APPLY before the new fonts will show up in the Font Family dropdown.
- Font Settings: Select a font family from the available options and also choose a default font size
- Font Family: Visage, Geneva, Optima, Helvetica, Trebuchet, Lucida, Georgia, Palatino, or Various Google Fonts (dropdown)
- Font Size: Default, Extra Large, Large, Small, Extra Small (dropdown)
Assigning a Style to a Specific Page
With Gantry, the ability to assign a certain style to an individual page has never been easier and/or more efficient. Just follow these simple steps:
- (J15) Go to Extensions → Template Manager → rt_visage_j15 → Menu Items → *Menu Item*
- (J17) Go to Extensions → Template Manager → rt_visage → Assignments → *Menu Item*
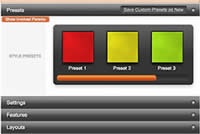
- (J15) Select your preset from Presets → Style Presets, configure and save.
- (J17) Select your preset from Show Presets, configure and save.
Gantry Framework: Per Menu Item Controls